Thursday, 12 May 2016

Liset Skin

Just like with the Excalibur skin I looked at the current skins for the Liset and decided I would be changing the tint mask of the Liset to create a new skin.


My initial thoughts for a Liset skin was bubbles inspired, so I knew I wanted to have multiple round shapes of varying sizes.


I started by taking away a lot of the lines and extra parts to make more room for the shapes that I wanted to add in.


Here is what the final skin looks like and the tint mask.


- Peter Howell

Warframe. (2015). CREATING LISET SKINS. Available: https://warframe.com/steamworkshop/help/index.php?page=creating-liset-skins. Last accessed 29th Apr 2015.

AlphaBest. (2016). Bubbles Engineering. Available: https://www.alphabest.org/bubblesengineeringenrichment/. Last accessed 29th Apr 2015.

Creating Excalibur Skin

To start creating a skin for Excalibur I looked at the skins that were already in the game, I noticed that the skins were mostly tint mask swaps which have some kind of theme to them such as fire.


I had an idea of plants or roots grasping the character so I started drawing wispy lines which had little offshoots to try and replicate what a root looks like.


I did this over the majority of the body until I ended up with this as the tint mask that would make up my skin.


Unfortunately I have been unable to get any screenshots of the skin within the game due to issues with the steam workshop, but I have got a preview of the skin in the TennoGen using the colour palette shown in one of my previous posts.


- Peter Howell

Warframe. (2015). CREATING A WARFRAME SKIN. Available: https://warframe.com/steamworkshop/help/index.php?page=creating-a-warframe-skin. Last accessed 17th Apr 2015.

Creating an alternate Mag helmet

One of my goals set is to create an alternate helmet for a Warframe, so I imported a model of Mag into 3DS Max to create it. I have a budget of 5000 tris to work within but I don't think that will be much of a problem for me though.

To start with I duplicated the original helmet and sliced it in half as I wanted to create a symmetrical helmet. I didnt want to stray too far away from the original helmet as then there might be problems when it is put back on the body.


I then cut the gas mask bits off of the front of the head and covered it over and smoothed it up a bit.


I gave the helmet a more prominent ridge around the visor and ear covers, I also added a raised parting down the centre of the helmet.


I added a piece which has a gap between the helmet and itself to give the impression of the helmet being held together by the magnetic powers of the character.


I then added little over hangs on the back of the helmet which are going to be vents.


Here is my finished helmet next to the original that I started with. The final poly count was 1190 polys.


I will create another post about the texturing of the helmet as I ran into a few problems.

- Peter Howell

Warframe. (2015). CREATING AN ALT HELM. Available: https://warframe.com/steamworkshop/help/index.php?page=polycount-creating-an-alt-helm. Last accessed 5th May 2015.

Substance Painter

After reading that Digital Extremes, the creators of Warframe, use Substance Painter to texture their models I decided to try it out. Substance Painter allows you to paint directly onto 3D models while applying all of the textures that are used on the models in Warframe.

After opening up the program and selecting the model that I want to paint this is what the UI looked like. At first I found this very overwhelming as I didn't know what anything was at first but I messed around with some of the settings and quickly learned what each window had in it. On the left you can see the model and on the right you can see the texture, you are able to paint directly onto either of these and it will affect both.


The paint properties window was in my opinion the most useful window, it allowed you to change the colour of the brush, the height of the brush strokes (I later realised this is the Normal map), the roughness and how metallic the colour is. In this window it is also possible to change the brush shape or even use a stencil as the brush.


I noticed that there was a guide for the shaders that are used in the creation of textures so I followed their guide and put them into Substance Painter. This shader tries to emulate what the object will look like if it was in the game. I will show this later when I am creating the textures for my models in Substance Painter.

- Peter

Warframe. (2015). SUBSTANCE PAINTER SHADER. Available: https://warframe.com/steamworkshop/help/index.php?page=substance-painter-shader. Last accessed 17th Apr 2015.

Warframe TennoGen and Tint Masks

In this post I will be talking about my experiences with the Warframe Tennogen, a tool used to collect and put together assets for Warframe.

This is what I was given after I imported the Excalibur model and added all of the body textures to the correct slots.


To see how easy it was to change textures in Tennogen I altered the Diffuse of the Excalibur texture by adding 2 different coloured lines to it.


I then simply dragged the new diffuse texture into the editor and it changed instantly, making the whole process of adding new textures fast and simple.


After some time I realised that changing the colours on the tint mask material had no effect on the textures. The problem was that there was no alpha mask, so I needed to add that in manually. To do this I had to install the SuperPNG Photoshop plug-in and as I dragged the tint mask file into Photoshop I had to hold shift. This window would pop up. I had to make sure that I clicked 'Alpha appears as separate channel' and then add the alpha channel in the channels tab in Photoshop.


This is what the tint mask for the Excalibur looks like, each colour corresponds to a different section of the texture that can be coloured within game. There are 5 Different sections in total: Black, White, Red, Green and Blue, the black section is the part of the texture which wont be affected by the tint mask.


This is what the character would like like if there were no colours selected for the tint mask, it would just show the diffuse colours.


This is after colours have been applied to the tint mask using the in game colour palettes, it tints the selected areas with the chosen colours.


Overall I think that the TennoGen tool is very simple and easy to use, the tint masks are easy to understand also.

- Peter Howell

Warframe. (2015). Tintmasks. Available: https://warframe.com/steamworkshop/help/index.php?page=tintmasks. Last accessed 17th Apr 2015.

Sunday, 28 February 2016

Changes to the project

After feedback and thinking on it I have decided to change the direction of my project from character design to asset creation. The thought process behind this is: the style guide that I am following only covers asset creation for the game, this would allow me to follow a more constrained creation process. The assets that I can create following this style guide are: Warframe skins, Syandannas, Liset skins and alternate helms.

Here are the constraints that I would be following for each asset type.

Warframe skin:
6 2048 x 2048 textures:
Albedo (filename_d)
Normal (filename_n)
Specular (filename_s)
Roughness (filename_r)
Emissive (filename_e)
Tint mask (filenameTintMask_d)

Syandanna:
7500 triangles
6 1024 x1024 textures:
Albedo (filename_d)
Normal (filename_n)
Specular (filename_s)
Roughness (filename_r)
Emissive (filename_e)
Tint mask (filenameTintMask_d)

Liset skin:
6 2048 x 2048 textures:
Albedo (filename_d)
Normal (filename_n)
Specular (filename_s)
Roughness (filename_r)
Emissive (filename_e)
Tint mask (filenameTintMask_d)

Alt helm:
5000 triangles
6 2048 x 1024 textures:
Albedo (filename_d)
Normal (filename_n)
Specular (filename_s)
Roughness (filename_r)
Emissive (filename_e)
Tint mask (filenameTintMask_d)

Looking at the time I have left for this project I believe that I will be able to make at least one of each of these assets. I will be making a follow up post explaining in more detail what i will be doing for each of these assets.

- Peter Howell

Tuesday, 2 February 2016

First Concepts

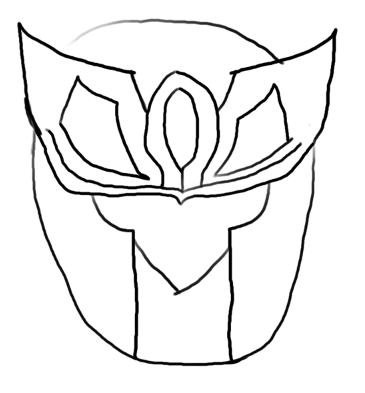
Before I started to create concept art for my character I decided to look into different things for inspiration. I started by looking into other games, one in particular: Ninja Gaiden. This is what I quickly drew up from inspiration from the main character.
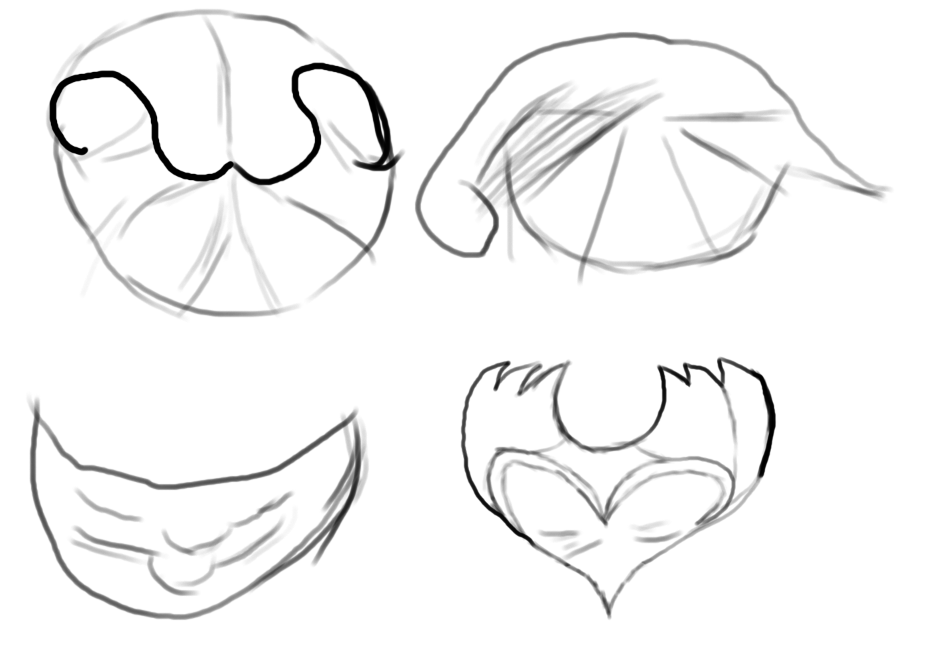
After drawing this I felt as though I needed to strip down my inspirations to a more broad spectrum. Going back to the drawing board I looked into the elements such as water and fire which is when I drew these.
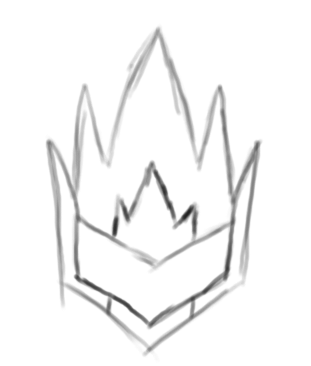
I still wasn't happy with these so I decided to use ice as an inspiration and came up with this.
Now I was much happier with this and was about to start concept art for the body when I remembered that there is already a character in Warframe that uses the powers of ice. I chose to instead tweak this and instead use crystals rather than ice.


In this picture I drew a redesigned helmet using my previous one as reference, i also drew a possible arm design.


Here I cleaned up the helmet a bit and drew a body and legs. I feel as though I can start modelling the helmet from here as I draw up some more concepts for my characters body and legs.

- Peter Howell